- Easy to attach
- Works on wood, plaster and concrete
- Choose between two different types of pin
The picture hook, like its predecessor, has three metal pins that you hammer into the wall to hold the hook in place. The design of the picture hook means that you get a good grip and can more easily hammer in the hook without you accidentally hitting your fingers.
The hole in the middle of the metal pins allows you to easily see pencil markings in the wall behind, which makes it easier to measure out where the frame should hang. The small notches in the sides also allow you to measure along a line on the wall and hang several picture hooks in a straight line.
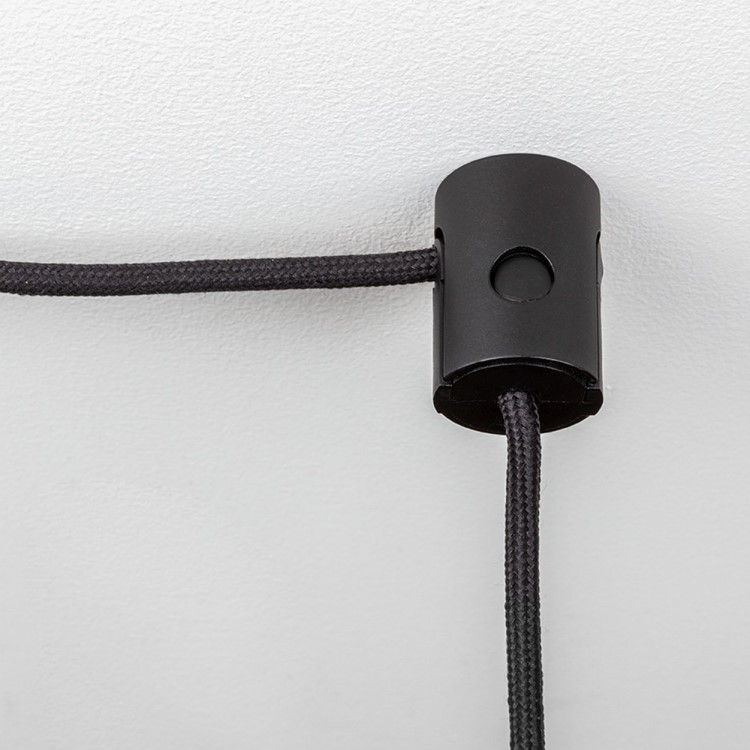
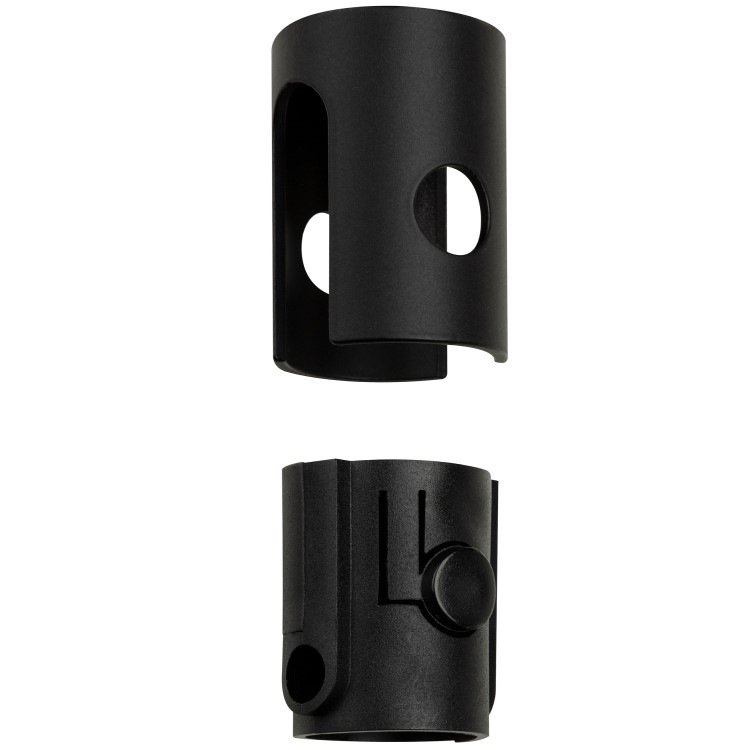
But the biggest difference compared to the old concrete hook is that you can attach two different accessory pins to the hook. A mounting pin that, for example, fits wall lamps, key cabinets and curtain sockets. Or a keyhole pin that you can use to set up items with a keyhole, such as a kitchen clock or mirror.
Choose between two different packs
When you buy the picture hook Apponwall, you can choose between two packs. Three picture hooks are included in both models.
Mounting pins: The pack contains 3 picture hooks and 3 mounting pins.
Keyhole pins: The pack contains 3 picture hooks and 3 keyhole pins.
How to use the picture hook
Nail the picture hook to the wall. You can then attach one of the accessory pins or use the picture hook as it is. If you only use the picture hook, pull the picture along the wall, from top to bottom, so that the picture attaches to the small hook that is facing up. Perfect for small hangers and frames with wire.
Using mounting pins
Turn a mounting pin on the picture hook and hook the object. If necessary, use one of the small stops on the mounting pin to prevent the object from slipping.
Using keyhole pins
Tighten a keyhole pin on the picture hook. You can now more easily hang objects with keyhole mounts and frames with shallow mounts.
Removal of the picture hook
Use a flat-blade screwdriver and insert it into the groove under the middle roundel in which the nails are located. Feel free to protect the wall behind the chisel with a piece of cardboard and pry off the hook.
Important to remember
The picture hook can withstand varying loads depending on whether you are using an accessory pin or not, which accessory pin you use and what material you nail the picture hook on.
Click here to read more detailed information about load.
More instructions and facts can be found in the pdfs under specifications and in the video below.


